最新下载
热门教程
- 1
- 2
- 3
- 4
- 5
- 6
- 7
- 8
- 9
- 10
Canvas做雪花屏版404代码实现方法
时间:2022-06-25 17:50:07 编辑:袖梨 来源:一聚教程网
本篇文章小编给大家分享一下Canvas做雪花屏版404代码实现方法,文章代码介绍的很详细,小编觉得挺不错的,现在分享给大家供大家参考,有需要的小伙伴们可以来看看。
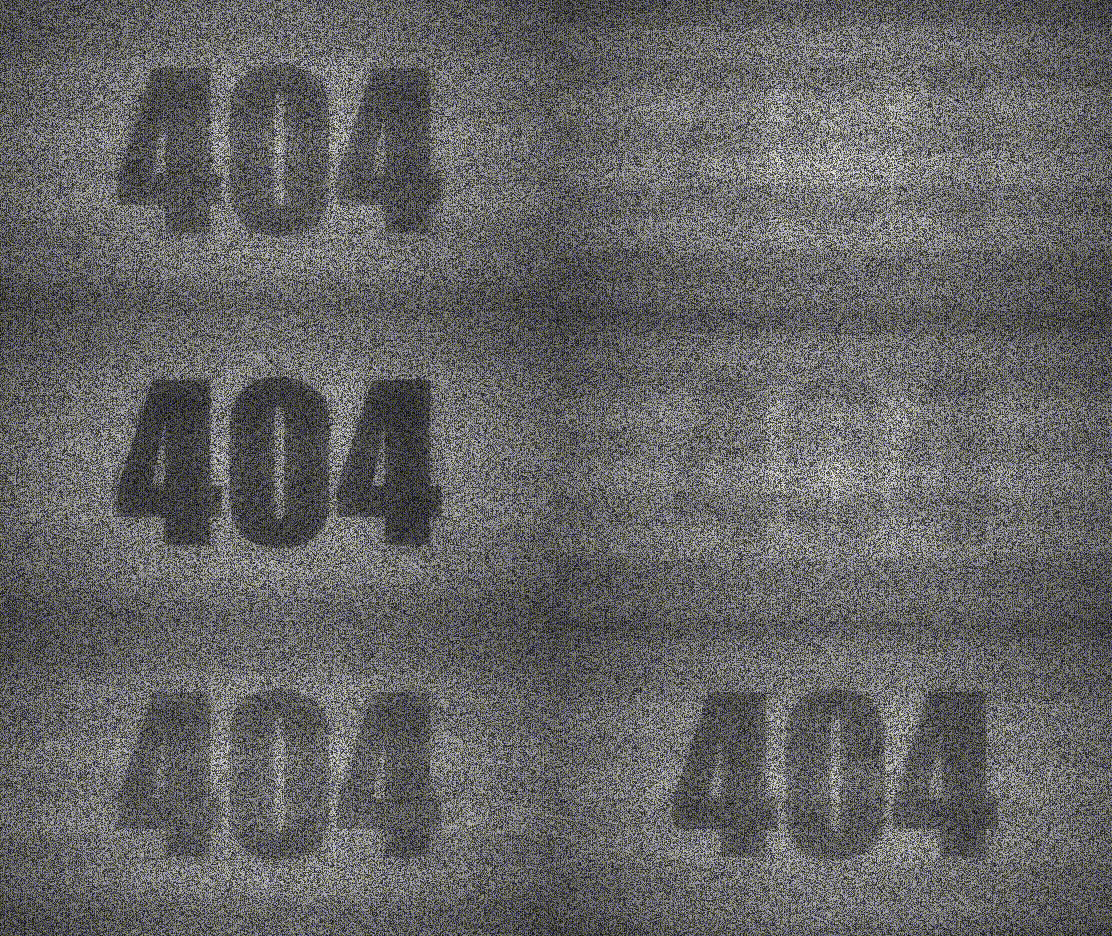
效果下图:
1.基础结构
我们先写好html,在里面我们用module模式,方面后面的模块加载。
再写好css的基本样式,这里我们让里面的元素都是全屏显示的。
* {
    padding: 0;
    margin: 0;
}
html,
body {
    width: 100%;
    height: 100vh;
    overflow: hidden;
    position: relative;
    font-size: 12px;
}
#canvas {
    width: 100%;
    height: 100%;
    position: absolute;
    top: 0;
    left: 0;
    right: 0;
    bottom: 0;
    z-index: 1;
}
.content {
    z-index: 9;
    width: 100%;
    height: 100%;
    display: flex;
    align-items: center;
    justify-content: center;
    background-color: transparent;
}
接下来,我将要写主逻辑了:
/*app.js*/
class Application {
  constructor() {
    this.canvas = null;             // 画布
    this.ctx = null;                // 环境
    this.w = 0;                     // 画布宽
    this.h = 0;                     // 画布高
    this.offset = 0;                // 波段偏移位置
    this.imgData = null;            // 画布图信息
    this.text = "404";              // 绘制文字
    this.alpha = 0;                 // 透明度
    this.alphaNum = 0.005;          // 透明度衰减值
    this.alphaMax = 0.35;           // 透明度极值
    this.init();
  }
  init() {
    // 初始化
    this.canvas = document.getElementById("canvas");
    this.ctx = this.canvas.getContext("2d");
    window.addEventListener("resize", this.reset.bind(this));
    this.reset();
    this.render();
  }
  reset() {
    // 屏幕改变调用
    this.w = this.canvas.width = this.ctx.width = window.innerWidth;
    this.h = this.canvas.height = this.ctx.height = window.innerHeight;
  }
  render() {
    // 主渲染
    this.step();
  }
  drawBackground() {
    // 绘制雪花屏
  }
  drawFrame(delta) {
    // 绘制波段
  }
  drawText() {
    // 绘制文字
  }
  step(delta) {
    // 重绘
    const {w, h, ctx} = this;
    requestAnimationFrame(this.step.bind(this));
    ctx.clearRect(0, 0, w, h);
    this.drawBackground();
    this.drawText();
    this.drawFrame(delta);
  }
}
window.onload = new Application();
绘制方面的内容我们随后会开展,目前做的事就是拿到画布给其赋予宽高让其铺满每次监听都可以改变其宽高,此外,其实也不断在重绘执行中,尽管他里面没有东西空白一片。
2.绘制雪花屏
我们想让画布里面有点东西,先绘制雪花背景吧,所以我们先要分析雪花屏是如何产生的。
其实也不难,就是我们先要拿到当前画布内所有点的色值信息,对其修改成随机灰度值,当不断绘制的时候,便呈现出雪花不断闪动。
/*app.js*/
reset() {
    this.w = this.canvas.width = this.ctx.width = window.innerWidth;
    this.h = this.canvas.height = this.ctx.height = window.innerHeight;
    this.changeImgData()
}
changeImgData() {
    const {w, h, ctx} = this;
    ctx.fillStyle = 'white';
    ctx.fillRect(0, 0, w, h);
    ctx.fill();
    return this.imgData = ctx.getImageData(0, 0, w, h);
}
这一步我们就是期望再每次屏幕改变的时候都能拿到他的画布图片数据。imgData里面有个data信息,里面存储了一个Uint8ClampedArray,他里面对应的是点的色值信息,每隔从0到3分别代表红,绿,蓝,透明度的信息。
接下来,我们将利用这些信息搞点事情出来:
/*app.js*/
drawBackground() {
    const {ctx, imgData} = this;
    for (let i = 0, data = imgData.data; i

	我们拿到了信息中的data让每一个色值都改变成一个随机具有灰度的值。再利用putImageData再次对当前矩形也就是整个画布进行绘制,这样雪花屏就出现了~~


	3.圆形渐变


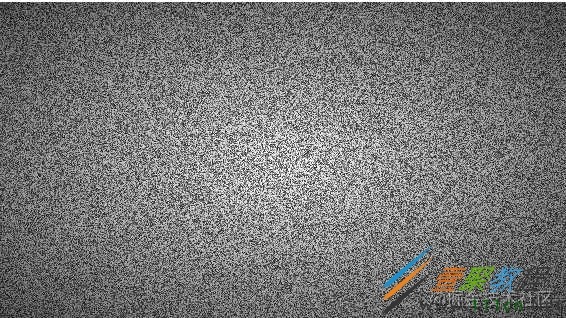
	但是,看着花屏太白了,没那种电视框起来那种味道,所以我们用css3在容器写一个渐变背景的伪类覆盖上。中间稍留一点白,为了让后面的主题文字更加让人一目了然。当然,你也可以在画布上绘制一个渐变上去,同样可以实现效果。

.content::after {
    content: "";
    display: block;
    position: absolute;
    top: 0;
    bottom: 0;
    left: 0;
    right: 0;
    z-index: 99;
    background: radial-gradient(
        ellipse at center,
        rgba(0, 0, 0, 0) 0%,
        rgba(0, 0, 0, 0.6) 100%
    );
}


	是不是瞬间感觉好多了~


	4.绘制文字

drawText() {
    this.alpha += this.alphaNum;
    if (this.alpha >= this.alphaMax) {
        this.alpha = this.alphaMax;
        this.alphaNum *= -1;
    } else if (this.alpha

	这里在绘制前先要改变他的透明度,让他有规律的一闪一闪,就是他让从0不断累加其透明度到达临界值时其再取反,反之亦然。后面的绘制也很简单,让他居中显示在屏幕中间加点投影罢了,这里不做过多赘述。


	现在我们的已经可以看到字体动画了,别着急,为了更加的逼真,我们隔一段时间再生成一个波段矩形,让人感觉到信号不稳定,跟字体闪动的动画相辅相成。


	5.绘制波段

drawFrame(delta) {
    this.offset = delta / 10;
    const {w, h, ctx} = this;
    for (let y = -h / 5, v = h / 5; y

	这里我们设置每隔一个阶段自动绘制一个矩形,他的透明周期和文字的成负相关,文字透明度越高他的就会月低,使其主题文字更加明显。


	里面的offset变量是为了波段经历的偏移位置,使其不间断的往下移动。后面就是正常的绘制矩形再略微加些投影,更加逼真。


