最新下载
热门教程
- 1
- 2
- 3
- 4
- 5
- 6
- 7
- 8
- 9
- 10
在nginx安装及配置phpMyAdmin步骤
时间:2022-06-30 18:23:30 编辑:袖梨 来源:一聚教程网
phpMyAdmin是通过Web界面管理MySQL数据库的常用工具,在这里介绍安装方法及如何在Nginx以子目录的形式配置Nginx。
环境
系统:CentOS
PHP版本:5.6
phpMyAdmin版本:4.6.2
phpMyAdmin安装目录:/usr/share
phpMyAdmin访问目录:http://*YourD*omi*n/phpMyAdmin/
1) 下载phpMyAdmin
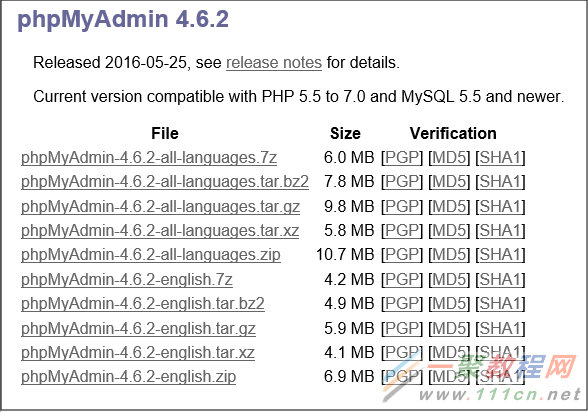
下载地址:https://www.phpmyadmin.net/downloads/
2016年6月20日的最新版本是phpMyAdmin 4.6.2,在这里需要注意的是php5.3之前必须下载phpMyAdmin 4.0.10.15或phpMyAdmin 4.4.15.6,而使用最新版本需要php5.5以上。
# cd /usr/share
# wget https://files.p*hpmy*adm*in.net/phpMyAdmin/4.6.2/phpMyAdmin-4.6.2-all-languages.tar.xz
# tar xvf phpMyAdmin-4.6.2-all-languages.tar.xz
# mv phpMyAdmin-4.6.2-all-languages phpMyAdmin
2) 配置Nginx
创建/etc/nginx/phpmyadmin文件,并填写以下内容。
# cat /etc/nginx/phpmyadmin
location /phpMyAdmin {
alias /usr/share/phpMyAdmin;
index index.php;
location ~ ^/phpMyAdmin/.+.php$ {
alias /usr/share/phpMyAdmin;
fastcgi_pass phpfpm;
fastcgi_index index.php;
fastcgi_param SCRIPT_FILENAME /usr/share$fastcgi_script_name;
include fastcgi_params;
}
}
EOF
在这里需要注意的是fastcgi_pass phpfpm;的phpfpm部分必须改为Nginx和PHP-FPM可进行通信的路径。
然后在/etc/nginx/conf.d/default.conf里添加include /etc/nginx/phpmyadmin;,确认Nginx配置文件的正确性并重新读取配置文件即可。
# nginx -t
# service nginx reload
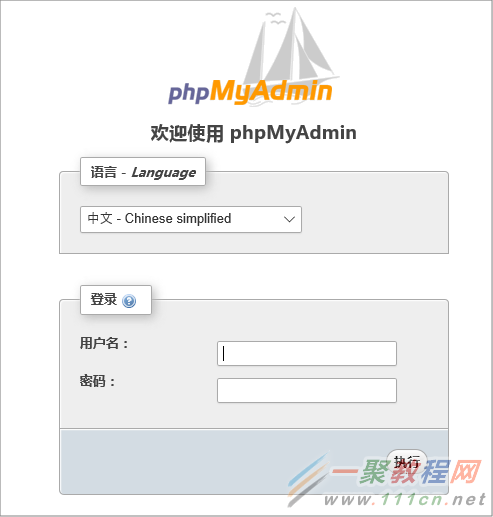
打开浏览器输入 http://*Yo*u*rDomain/phpMyAdmin/ 既可访问phpMyAdmin了。
3) 配置config.inc.php
# cd /usr/share/phpMyAdmin
# cp -p config.sample.inc.php config.inc.php
主要修改以下2个参数
$cfg[‘blowfish_secret’]
$cfg[‘Servers’][$i][‘host’]
$cfg['blowfish_secret'] = ''; # 默认
$cfg['blowfish_secret'] = 'zabbix.cc'; # 填写任意文字
$cfg['Servers'][$i]['host'] = 'localhost'; # 默认是localhost
$cfg['Servers'][$i]['host'] = '8.8.8.8'; # 填写运行MySQL数据库的主机名或IP地址
在config.inc.php里修改以上2个参数之后,保存该文件。
4) phpMyAdmin高级功能
登陆phpMyAdmin之后会显示如下信息。
phpMyAdmin 高级功能尚未完全设置,部分功能未激活。请点击这里查看原因。
这是在phpMyAdmin进行配置之后需要把信息永久保存时需要创建相应的数据库。
创建相应的数据库信息,需执行如下命令。
# mysql -uroot -p
相关文章
- 《一耽女孩》官网入口地址直达 12-21
- 蓝莓影院官网最新入口-2026蓝莓影院电视剧全网免费观看 12-21
- 阿里旺旺网页版在线登录入口-阿里旺旺网页版官方唯一在线入口 12-21
- 学习通网页版登录入口 学校通官方免费在线使用指南 12-21
- 抖币充值官网入口-抖音1:10比例抖币直充链接 12-21
- 百度云盘网页版直达入口-百度网盘网页版快捷登录入口 12-21


