最新下载
热门教程
- 1
- 2
- 3
- 4
- 5
- 6
- 7
- 8
- 9
- 10
利用Python将图片批量转化成素描图代码示例
时间:2022-06-25 01:47:50 编辑:袖梨 来源:一聚教程网
本篇文章小编给大家分享一下利用Python将图片批量转化成素描图代码示例,文章代码介绍的很详细,小编觉得挺不错的,现在分享给大家供大家参考,有需要的小伙伴们可以来看看。
程序
Method 1
def plot_sketch(origin_picture, out_picture) :
    a = np.asarray(Image.open(origin_picture).convert('L')).astype('float')
    depth = 10.  # (0-100)
    grad = np.gradient(a)  # 取图像灰度的梯度值
    grad_x, grad_y = grad  # 分别取横纵图像梯度值
    grad_x = grad_x * depth / 100.
    grad_y = grad_y * depth / 100.
    A = np.sqrt(grad_x ** 2 + grad_y ** 2 + 1.0)
    uni_x = grad_x / A
    uni_y = grad_y / A
    uni_z = 1. / A

    vec_el = np.pi / 2.2  # 光源的俯视角度,弧度值
    vec_az = np.pi / 4.  # 光源的方位角度,弧度值
    dx = np.cos(vec_el) * np.cos(vec_az)  # 光源对x 轴的影响
    dy = np.cos(vec_el) * np.sin(vec_az)  # 光源对y 轴的影响
    dz = np.sin(vec_el)  # 光源对z 轴的影响

    b = 255 * (dx * uni_x + dy * uni_y + dz * uni_z)  # 光源归一化
    b = b.clip(0, 255)

    im = Image.fromarray(b.astype('uint8'))  # 重构图像
    im.save(out_picture)
    print("转换成功,请查看 : ", out_picture)
Method 2
def plot_sketch2(origin_picture, out_picture, alpha=1.0):
    img = Image.open(origin_picture)
    blur = 20
    img1 = img.convert('L')  # 图片转换成灰色
    img2 = img1.copy()
    img2 = ImageOps.invert(img2)
    for i in range(blur):  # 模糊度
        img2 = img2.filter(ImageFilter.BLUR)
    width, height = img1.size
    for x in range(width):
        for y in range(height):
            a = img1.getpixel((x, y))
            b = img2.getpixel((x, y))
            img1.putpixel((x, y), min(int(a*255/(256-b*alpha)), 255))
    img1.save(out_picture)
完整代码
from PIL import Image, ImageFilter, ImageOps
import numpy as np
import os


def plot_sketch(origin_picture, out_picture) :
    a = np.asarray(Image.open(origin_picture).convert('L')).astype('float')
    depth = 10.  # (0-100)
    grad = np.gradient(a)  # 取图像灰度的梯度值
    grad_x, grad_y = grad  # 分别取横纵图像梯度值
    grad_x = grad_x * depth / 100.
    grad_y = grad_y * depth / 100.
    A = np.sqrt(grad_x ** 2 + grad_y ** 2 + 1.0)
    uni_x = grad_x / A
    uni_y = grad_y / A
    uni_z = 1. / A

    vec_el = np.pi / 2.2  # 光源的俯视角度,弧度值
    vec_az = np.pi / 4.  # 光源的方位角度,弧度值
    dx = np.cos(vec_el) * np.cos(vec_az)  # 光源对x 轴的影响
    dy = np.cos(vec_el) * np.sin(vec_az)  # 光源对y 轴的影响
    dz = np.sin(vec_el)  # 光源对z 轴的影响

    b = 255 * (dx * uni_x + dy * uni_y + dz * uni_z)  # 光源归一化
    b = b.clip(0, 255)

    im = Image.fromarray(b.astype('uint8'))  # 重构图像
    im.save(out_picture)
    print("转换成功,请查看 : ", out_picture)


def plot_sketch2(origin_picture, out_picture, alpha=1.0):
    img = Image.open(origin_picture)
    blur = 20
    img1 = img.convert('L')  # 图片转换成灰色
    img2 = img1.copy()
    img2 = ImageOps.invert(img2)
    for i in range(blur):  # 模糊度
        img2 = img2.filter(ImageFilter.BLUR)
    width, height = img1.size
    for x in range(width):
        for y in range(height):
            a = img1.getpixel((x, y))
            b = img2.getpixel((x, y))
            img1.putpixel((x, y), min(int(a*255/(256-b*alpha)), 255))
    img1.save(out_picture)


if __name__ == '__main__':
    origin_picture = "pictures/5.jpg"
    out_picture = "sketchs/sketch.jpg"
    plot_sketch(origin_picture, out_picture)

    origin_path = "./pictures"
    out_path = "./sketchs"
    dirs = os.listdir(origin_path)
    for file in dirs:
        origin_picture = origin_path + "/" + file
        out_picture = out_path + "/" + "sketch_of_" + file
        plot_sketch2(origin_picture, out_picture)
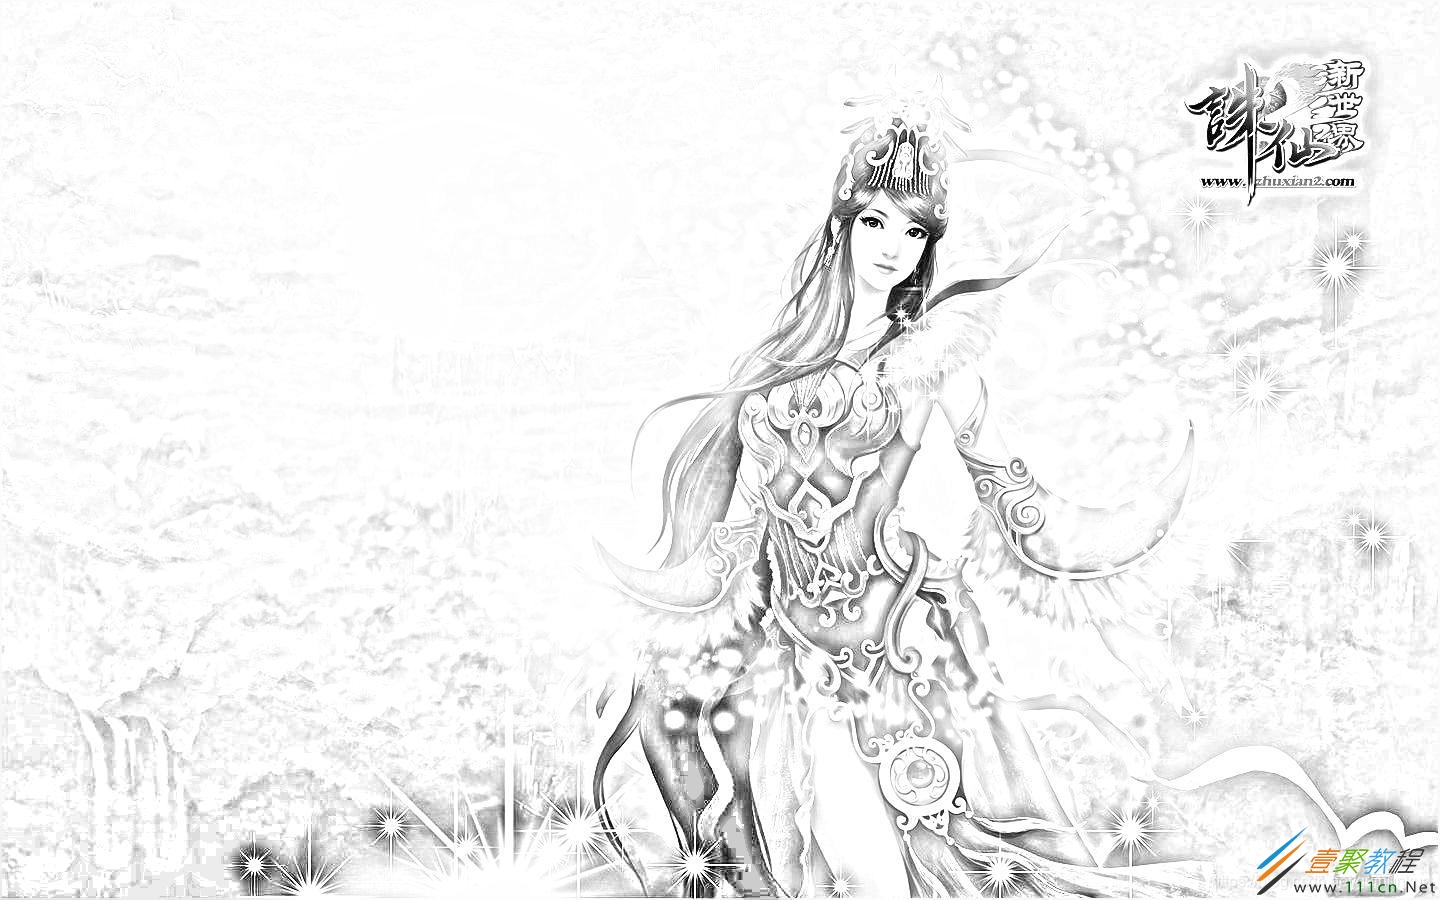
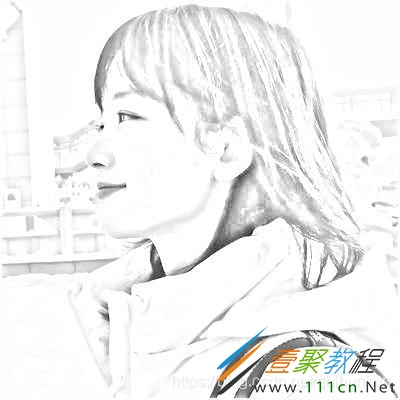
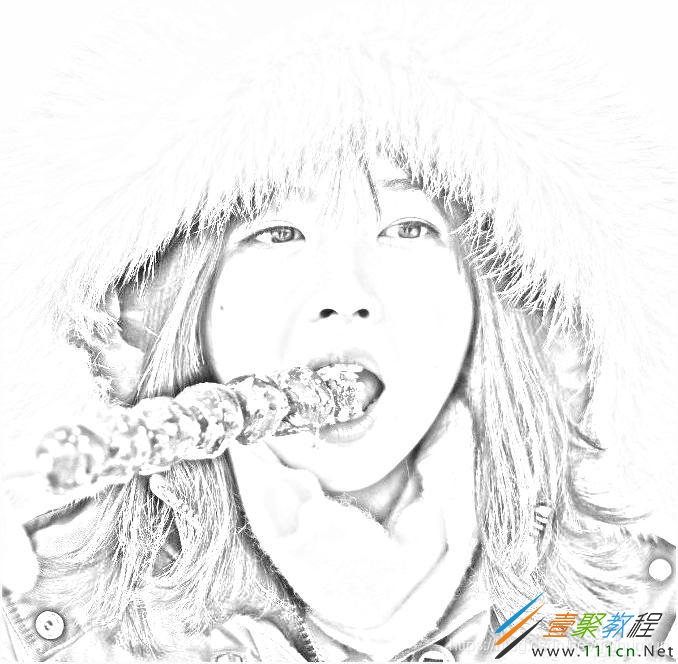
结果
相关文章
- 名将杀黄巾起义有什么玩法规则 12-23
- 126企业邮箱安全登录入口-126企业邮箱免费注册申请专属通道 12-23
- 空灵诗篇伊迪丝妖精队怎么搭配 12-23
- 钉钉网页版快捷入口 钉钉网页版一键登录官网 12-23
- ao3镜像发布页最新网址入口-ao3镜像发布页备用链接地址大全 12-23
- 明日方舟终末地什么时候公测 2026全球公测时间及详情 12-23


