


最新下载
热门教程
- 1
- 2
- 3
- 4
- 5
- 6
- 7
- 8
- 9
- 10
Illustrator绘制从中间切开的猕猴桃效果图教程
时间:2022-11-14 23:35:18 编辑:袖梨 来源:一聚教程网
给各位Illustrator软件的使用者们来详细的解析分享一下绘制从中间切开的猕猴桃效果图的教程。
教程分享:
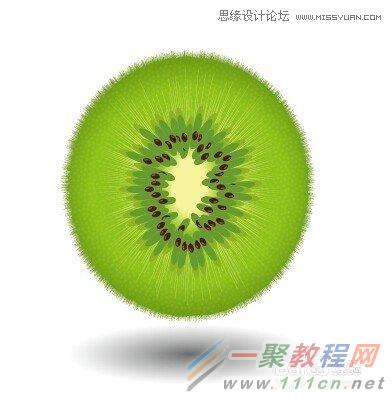
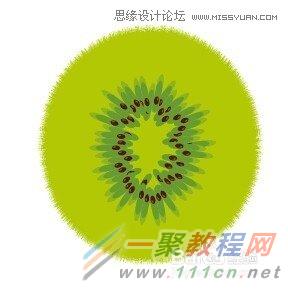
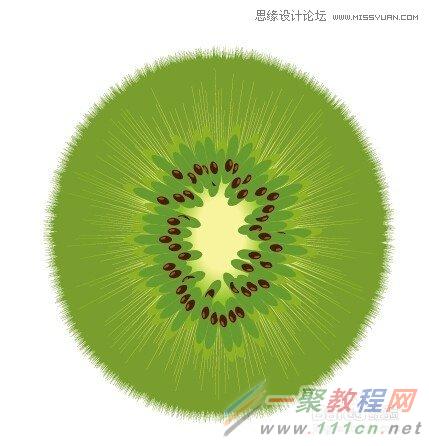
先看看效果图
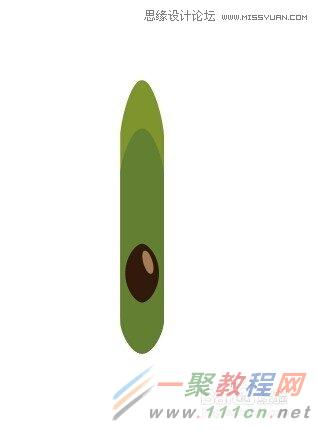
创建种子,先画这个,我想大家都会了吧,几个色块
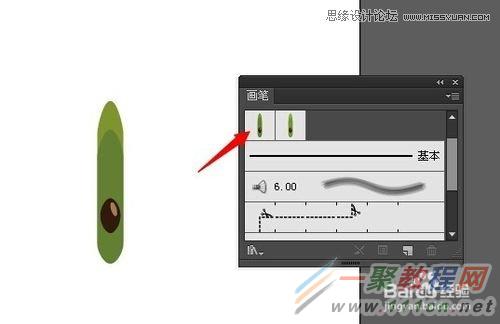
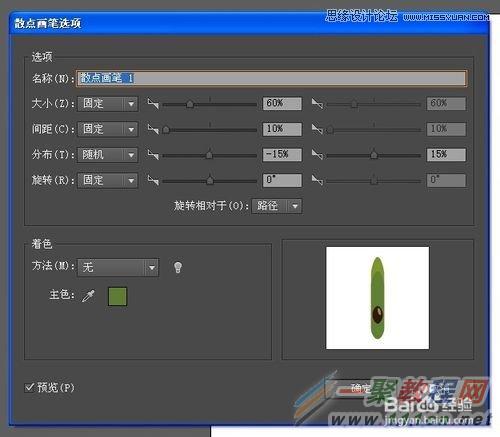
拉进画笔面板,创建散状画笔,参数如图
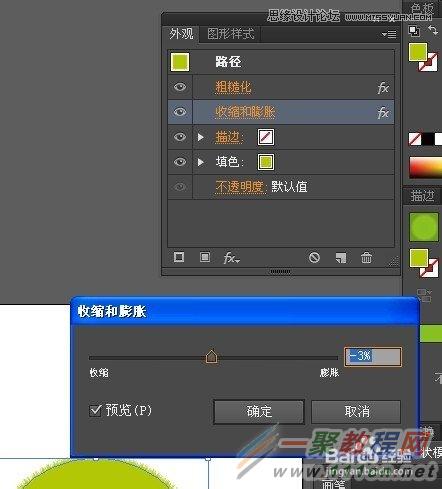
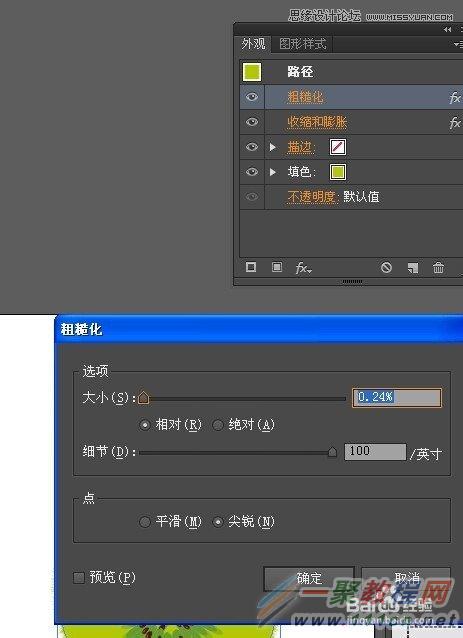
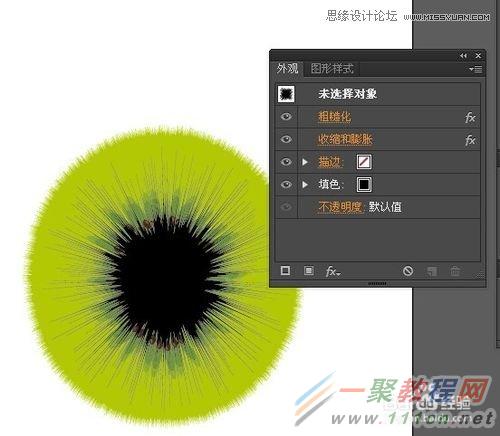
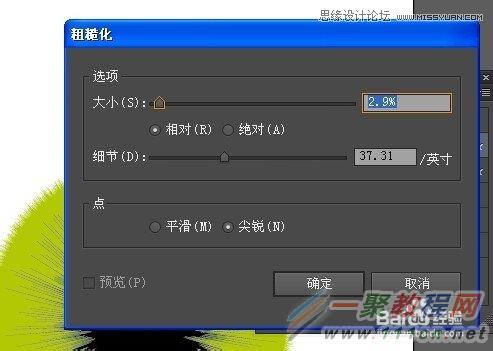
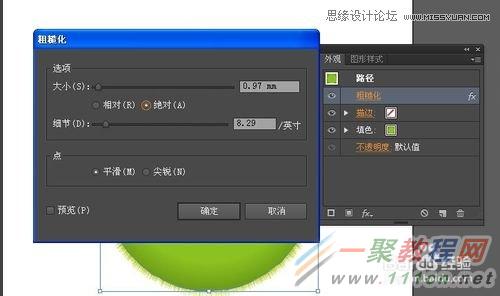
创建皮毛,画一个椭圆,运用效果粗糙滤镜,然后收缩和膨胀,参数如图
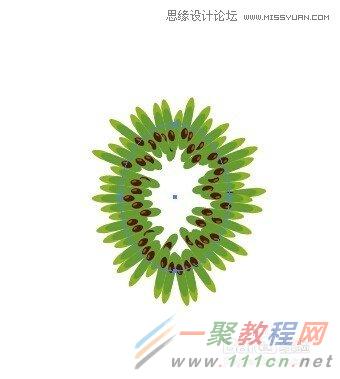
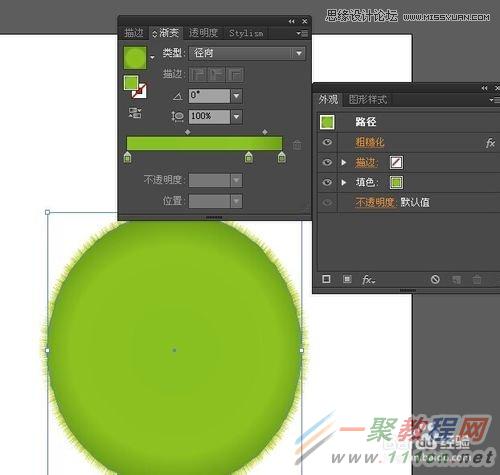
复制刚才的皮毛,缩小一点,调整参数如图,得到一个放射状的东西,增加内部放射感

调整颜色,置于种子下方,得到
画内部果实肉质

置于毛皮上方,得到

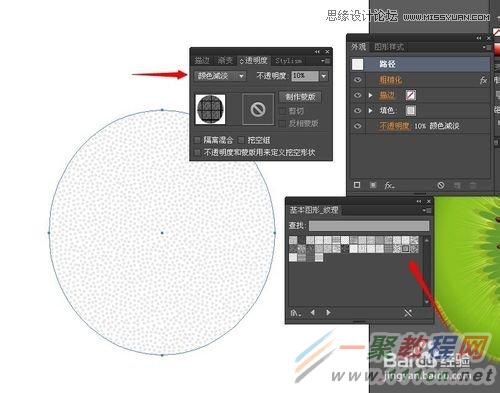
添加肉部质感,增加点状图案,设置透明度模式
增加阴影,稍微调整颜色,最终得到

好了,以上的信息就是小编给各位Illustrator的这一款软件的使用者们带来的详细的绘制从中间切开的猕猴桃效果图的教程分享的全部内容了,各位使用者们看到这里的使用者们小编相信大家现在看到这里是很清楚了具体的绘制方法了吧,那么各位就快去按照小编上面分享的教程自己去试着绘制吧。
相关文章
- 《弓箭传说2》新手玩法介绍 01-16
- 《地下城与勇士:起源》断桥烟雨多买多送活动内容一览 01-16
- 《差不多高手》醉拳龙技能特点分享 01-16
- 《鬼谷八荒》毕方尾羽解除限制道具推荐 01-16
- 《地下城与勇士:起源》阿拉德首次迎新春活动内容一览 01-16
- 《差不多高手》情圣技能特点分享 01-16